Linking a Web Data to a Prompt
Problem description
Sometimes Details pages show a varying amount of details for different items. For example, in a business directory some companies may publish less information than others. In this case the positions of the data fields inside the web page changes from item to another. That happens because web pages do not reserve space for missing data. However, web data extraction software uses position information to search for data fields and if their position changes, the scraper may extract wrong data or no data at all.
For example, suppose you want to extract web site URLs and email addresses and store them in separate columns on a spreadsheet. A sample Details page contains a company web site URL on the first line of the details block and an email address on the second line. The next company does not have a web site and its details block contains only an email address on the first line. When the scraper extracts web data it will mistakenly put the web site URL of the first company and the email address of the second one into the same column. How can this problem be resolved?
Solution
Most of the time, a data element on the web page has a corresponding prompt element. The text of the prompt does not change from one item to another. For example, an email prompt would always be “Email Address:” regardless of its position on the web page. The actual email address will always follow the prompt.
Linking a data item to its prompt helps collect information correctly from the changing details pages. Here is how this can be done using the Data Toolbar. Note that this functionality is only available on Details pages
Step by step
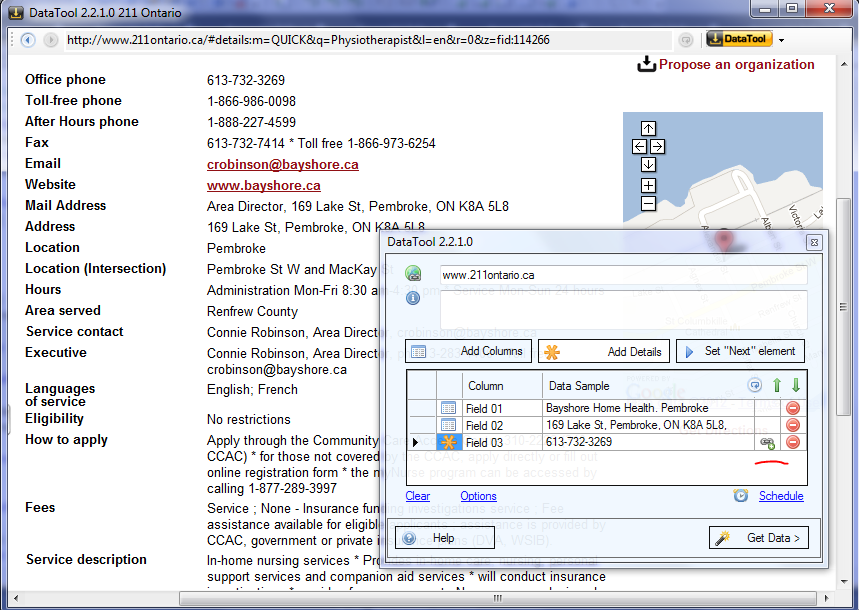
1. Select a data field you want to collect. A new data row will appear in the data-grid. Click on the "Add link" button on the right side of the data row.

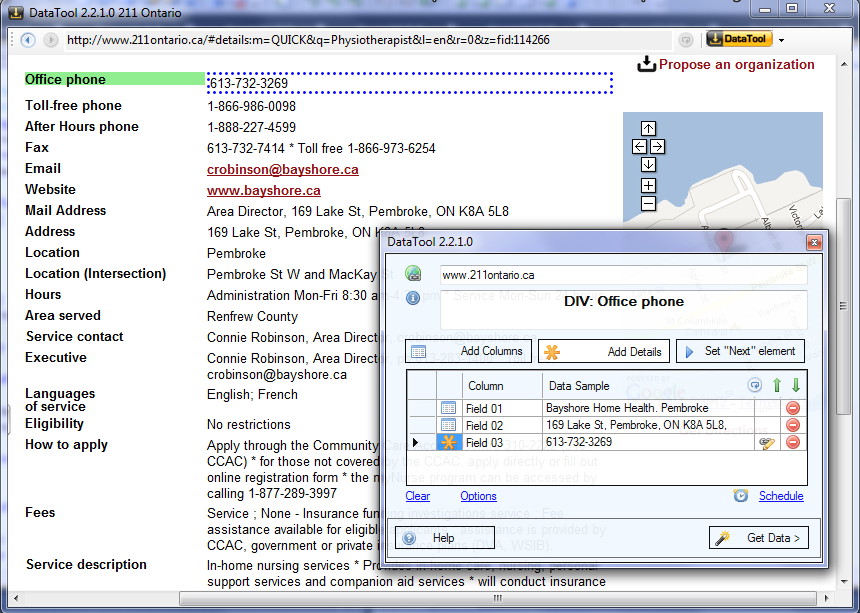
2. After you have clicked the "Add link" button, the tool will switch into the “Prompt selection mode”. In that mode, data elements on the web page are highlighted with cyan background instead of a yellow one when you move the mouse cursor over them.

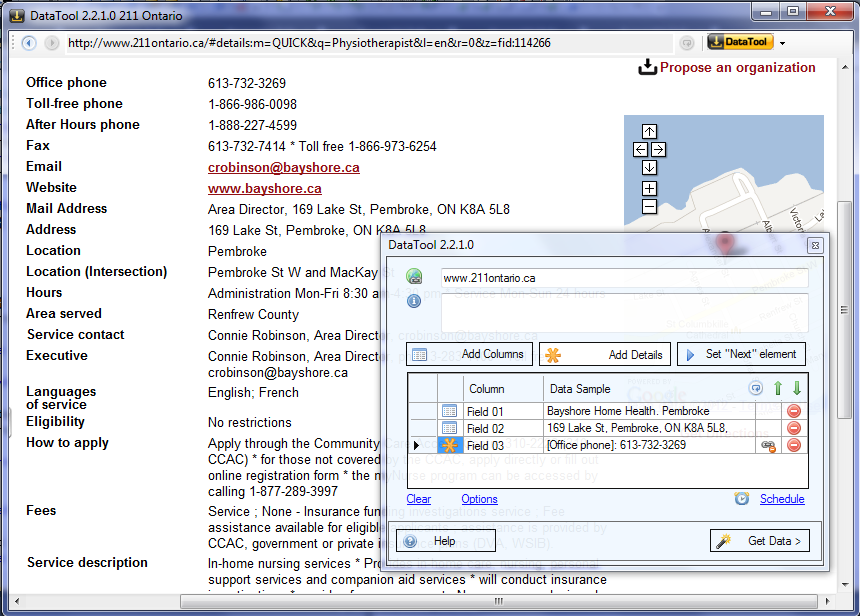
3. Select an element whose prompt you wish to use. The program will create a link between the prompt and the data element. Prompt text will appear in front of the data sample. You can remove the link anytime by clicking on the Remove Link icon in the data-grid.

4. Add other fields in the same way and press the Get Data button.

